ROOTS Collection 2021 - 75 years of MOSER
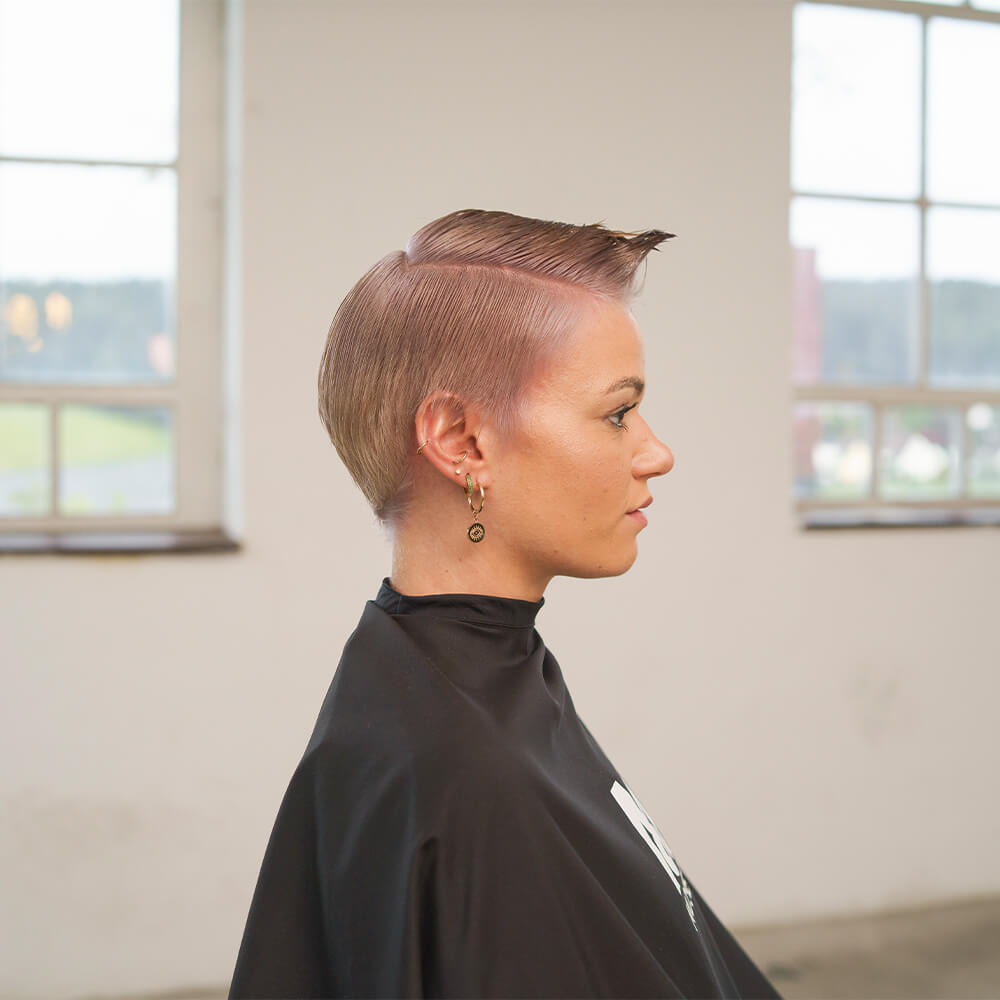
Look 6: Faded Pixie

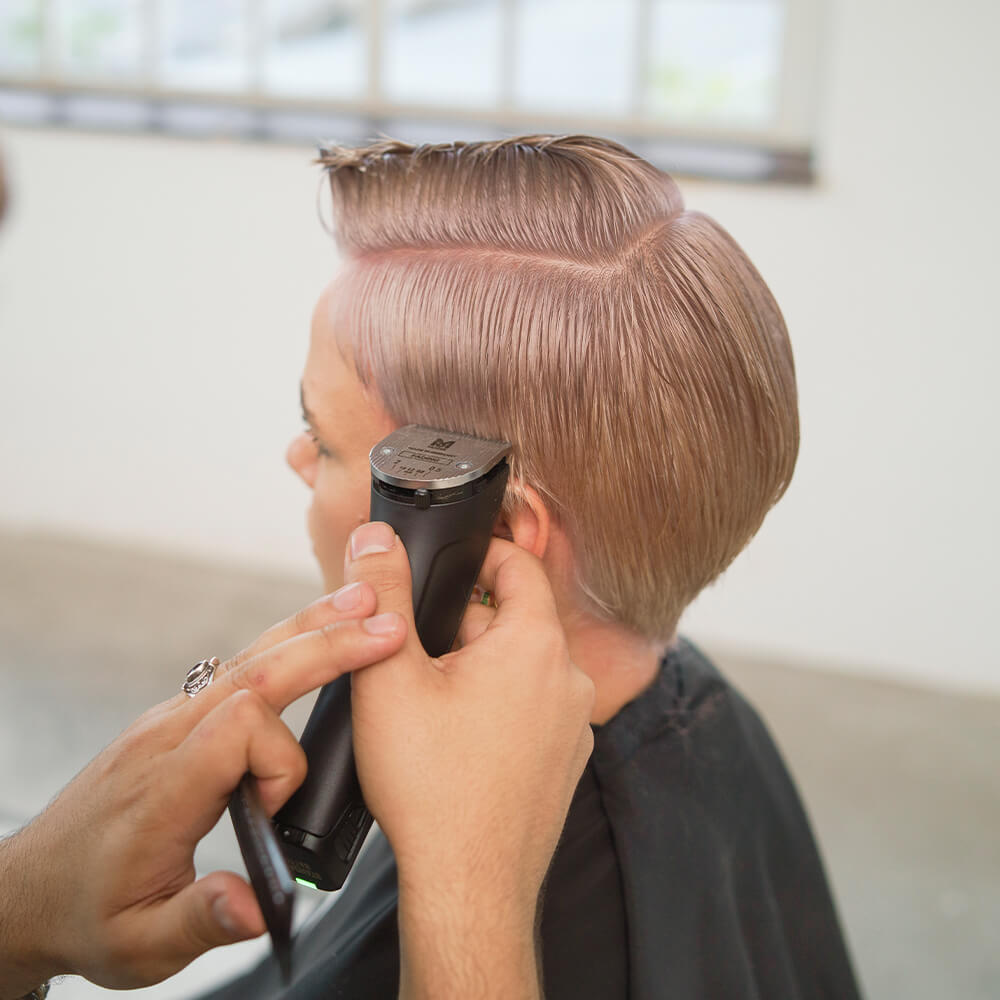
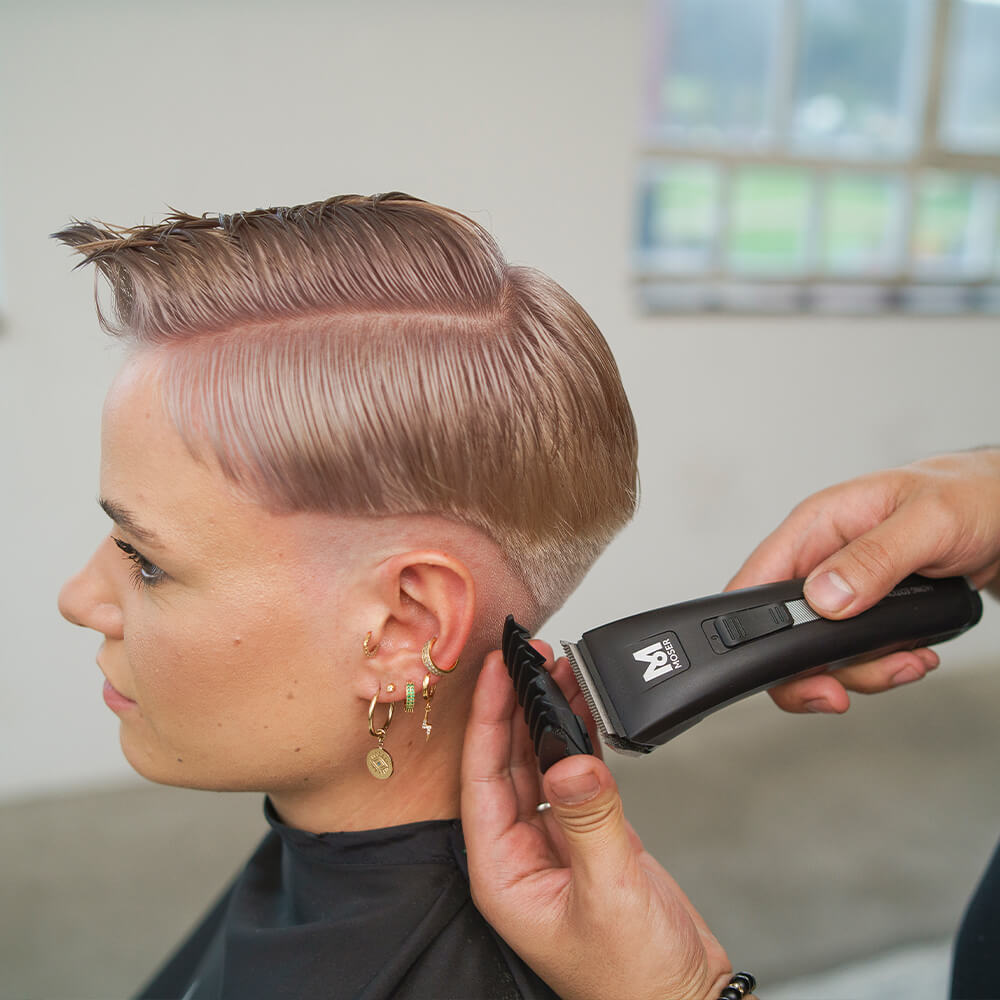
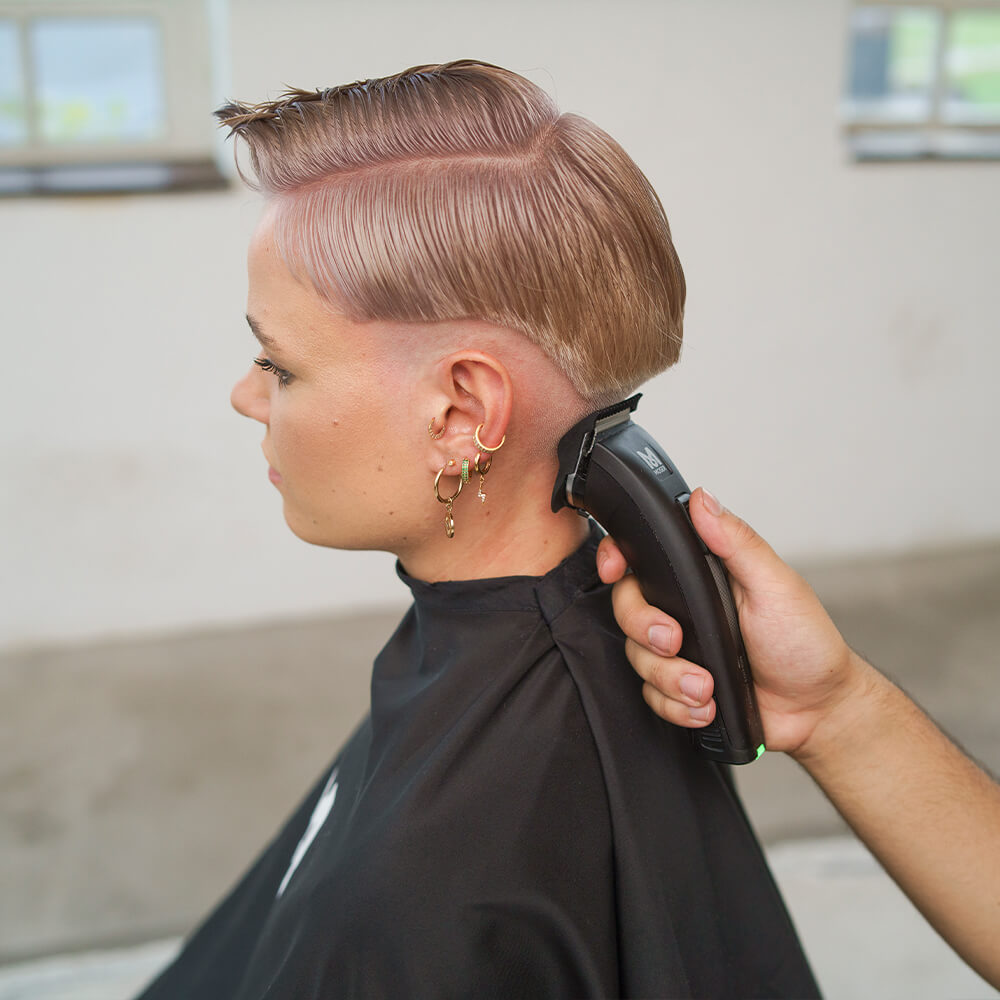
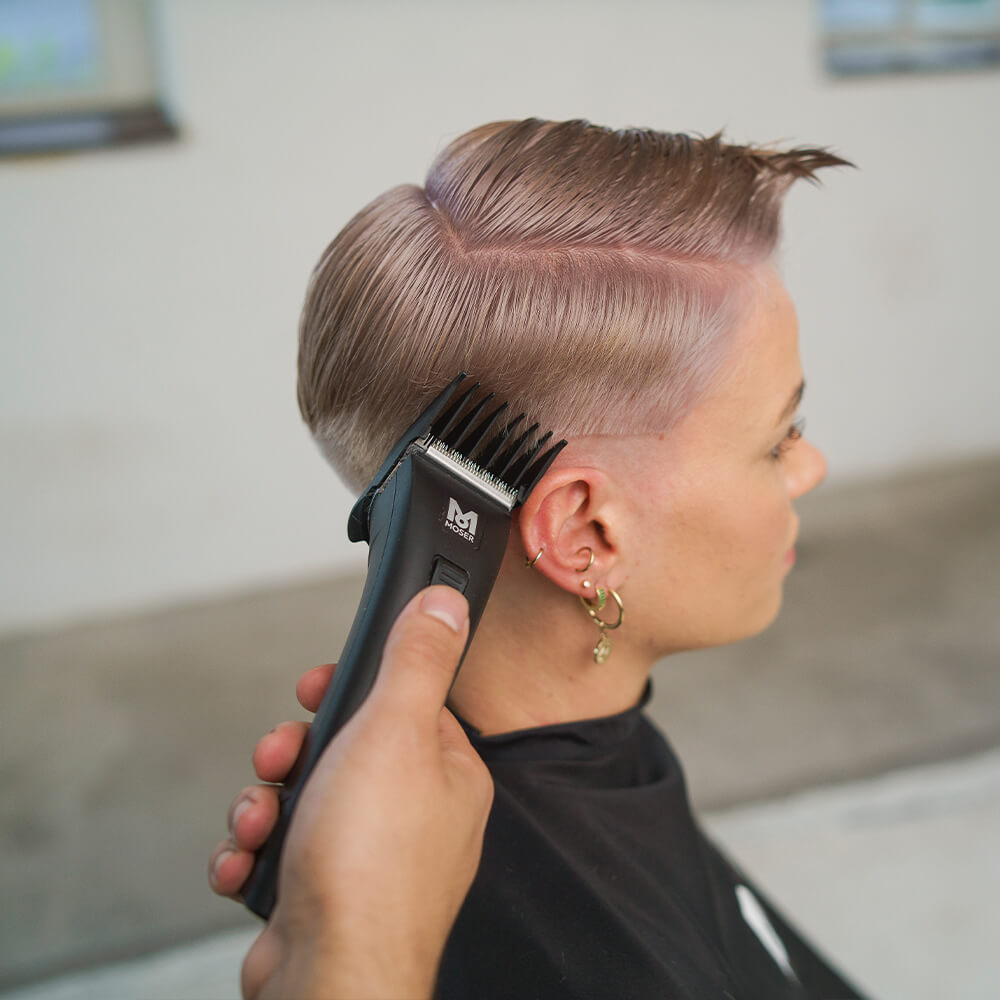
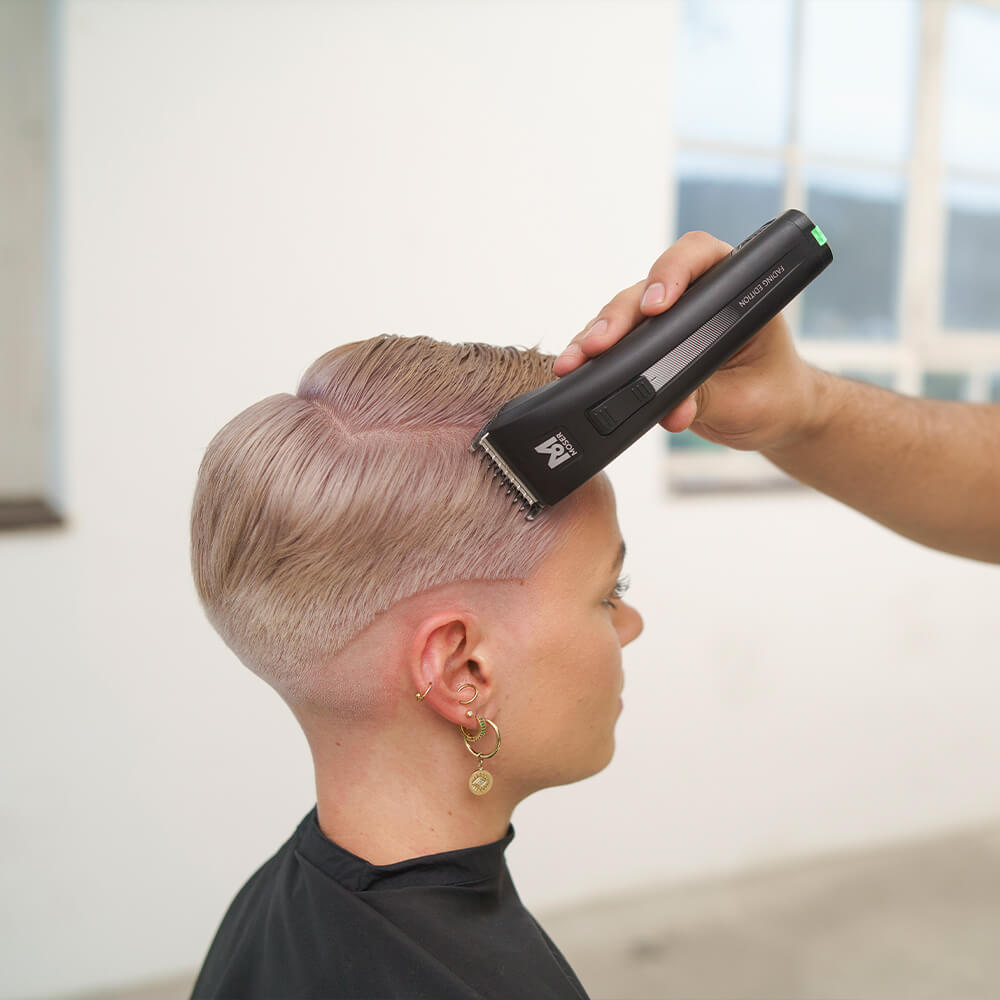
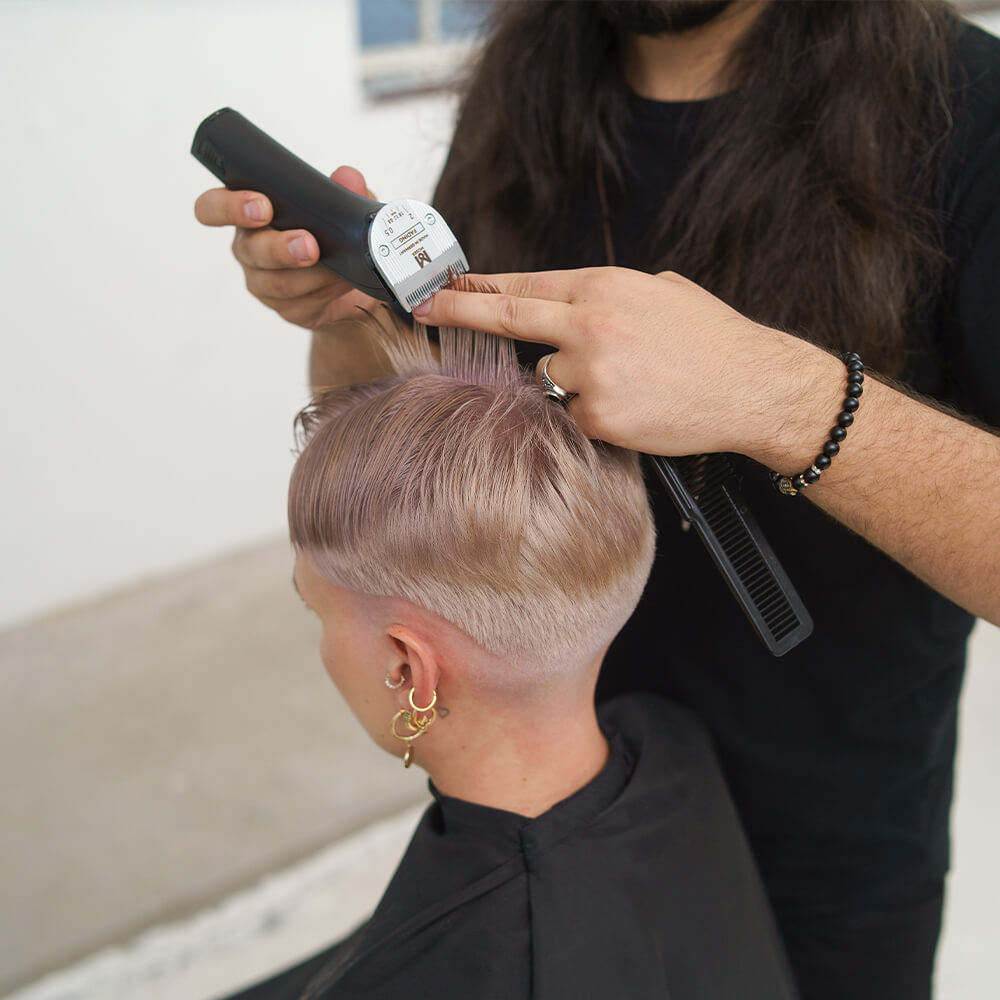
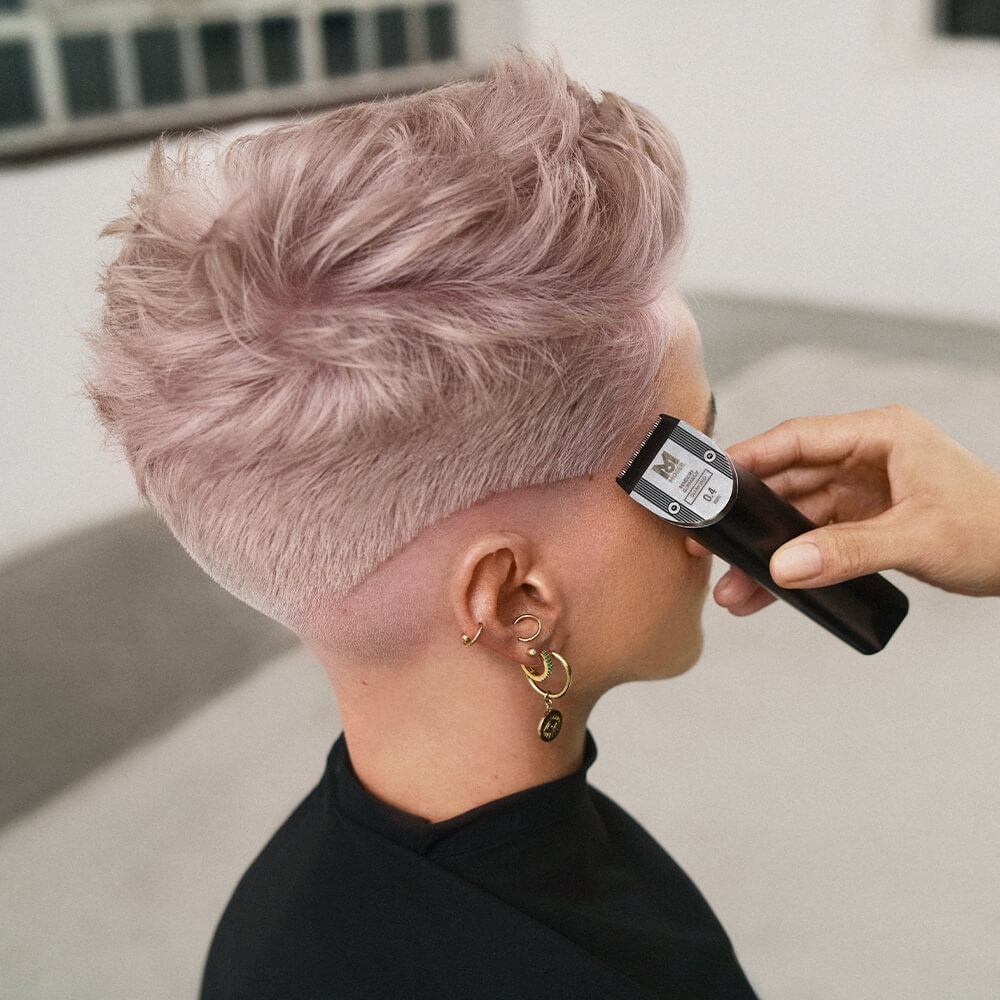
With this look, MOSER captures the Black Forest vibe within its current “ROOTS” collection by reinterpreting the Pixie cut in a fresh new way: The naturally textured top hair, boasting a clear contour with precise lines and a perfectly blended fade, showcases a smooth and choppy mix; a coming together of both classic and rebellious styles. In this avant-garde Faded Pixie cut, the stark contrast between the clear edges and the softly styled hair at the top of the head symbolises creativity, as well as the famous inventive spirit of the Black Forest region and the technical precision that goes hand-in-hand with it. MOSER is presenting this style in collaboration with Enes Dogan of the MOSER Artistic Team. To create the haircut, he worked with the MOSER GENIO PRO FADING EDITION as well as the TEXTURIZING BLADE for the top hair.
Credits:
• Hair: Enes Dogan, Artistic Team MOSER @enesdogan_de
• Photos: MOSER / Maximilian Kamps @maximiliankamps
• Styling: CEM Van Kay alias Cemre Xhaferi @cemvankay
• Make-up: Seda Yüksel @sedajanemakeupartist
• Collection: MOSER Roots 75 Years
• Model: Lena @lenjein
Tools:
• MOSER GENIO PRO FADING EDITION
• MOSER LIPRO2 MINI
• MOSER TEXTURIZING BLADE
• MOSER FADING BLADE
Faded Pixie Gallery